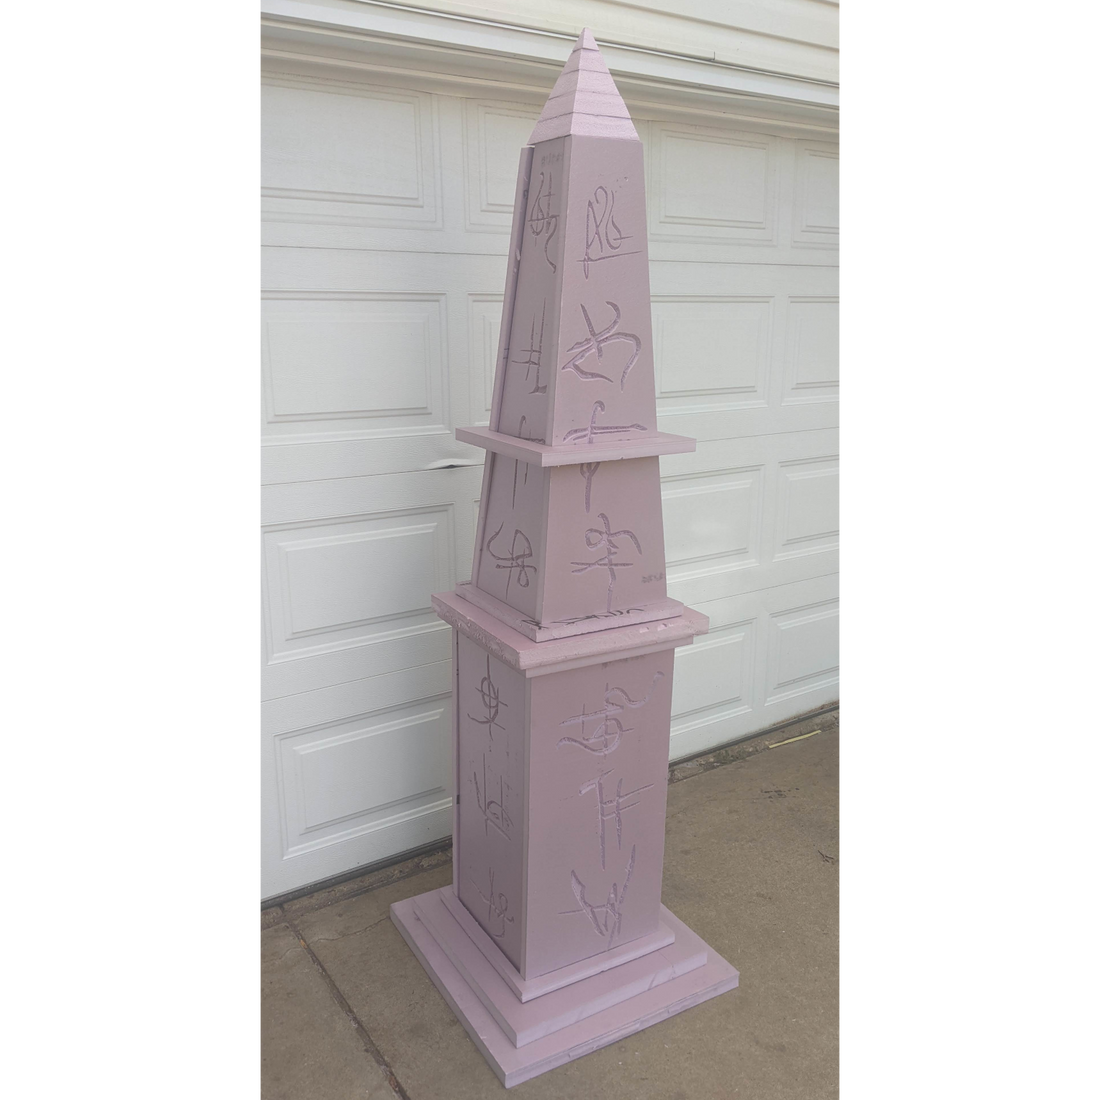
A large obelisk can add a touch of class and a bold statement to any haunt. This post is intended to help with assembly ideas to help make your obelisk look its best.
To assemble,
- start with the base of the top and glue and stack the two largest squares together. Put a weight on them. If too much glue is applied, they may slide as they dry. Adding a couple toothpicks between them poked up and down as dowels will hold them in place for the glue stage.

- take the upper part of the base that looks like a window frame and insert the sides of the obelisk. The one with the text is the front, the other similarly shaped wide piece is the back and the narrower pieces are the sides.
- When inserting the sides into the upper base, some trimming may be required to ensure the upper base piece does not break, but a tight fit is desired. The 4 sides are likely going to want to stand straight up and not lean in to form the proper shape for the pyramid tip.

- Tipping the assembly on its side and then press fitting pushing the sides to the inner edge of the upper base from underneath was found to be effective to ensure all sides were in the proper location.
- Setting the obelisk upright and then lining up the sides may be helpful with toothpicks poked into the back of the front piece. Then line up and the edges of the side parts so the toothpicks act as dowels to keep the upper edges aligned. do the same for the back piece and the sides.
- Once aligned, a large rubber band or strap or string may be helpful to pull the sides in to test fit the top pyramid. The top layers should be numbered for assembly. Verify fitment before applying glue.

- After test fitting the sides, apply wood glue, expanding foam, or your favorite adhesive that won't eat the foam to the edges of the side pieces and to the base.
- Secure the edges to the desired shape with rubber bands, string, straps, or tape over newspaper, making sure not to bind to or nick the obelisk as the glue is drying.

